From Artwork to Antiques: How to Protect Your Most Valuable Items During a Move
Introduction
You’re there, right? Buzzing about the fresh start, maybe even a little high on cardboard dust. But then, it hits you. That cold, clammy dread. Not about all the boxes, no. About their safety.
It washes over you when you look past all the normal stuff, and your eyes land on the real treasures. I’m not talking about the couch. Couches can be replaced.
I’m talking about the things that tell your story. That heavy, ornate mirror you inherited, the one that’s seen more family history than you have. Or that ridiculously fragile ceramic vase your partner just had to have. It’s beautiful, sure, but moving it? Terrifying. It’s fast, the switch from excitement to sheer logistical fear.
Here’s the thing, though. Getting those pieces to your new home in one piece isn’t some dark art. It’s not about luck, and it’s definitely not about just wrapping it in a spare duvet and hoping for the best (we’ve all been tempted).
It’s about having a plan. A solid one.
This guide is that plan. We’re going to trade that gut-wrenching anxiety for a bit of control. Let’s make sure your history arrives safely.
III. Phase 2: The Art of Packing
Okay, this is where the real work begins. It’s a science, a craft, and honestly? It’s the single most important factor in getting your treasures to their new home in one piece. This is not the time to cut corners.
Your Packing Arsenal: The Non-Negotiables
Forget just grabbing used boxes from the grocery store. For your valuables, you need to gear up like a pro. This isn’t optional.
- Glassine Paper: This is your secret weapon for art. It’s a special, acid-free paper that looks like fancy wax paper. Its job is to cover the surface of a painting or print without sticking or trapping moisture. Bubble wrap directly on a canvas? Don’t even think about it.
- Double-Walled Boxes: They’re stronger. They resist crushing. For anything heavy or remotely fragile, you need that extra layer of cardboard. It’s a cheap upgrade that pays for itself.
- The Classics: A giant roll of high-quality bubble wrap, bundles of plain packing paper (not newspaper, the ink can transfer!), and a stack of thick moving blankets.
Seriously. Don’t cheap out here. The cost of the right materials is a tiny fraction of the cost of a broken heirloom.
III Packing Masterclass: Item by Item
Every item has its own personality, its own weaknesses. You can’t pack a painting the same way you pack a porcelain doll. Here’s the breakdown.
For Artwork (Paintings, Prints, Mirrors)
The enemy here is surface damage and pressure.
- First, lay a sheet of glassine paper over the entire face of the piece. Tape it to the back of the frame, but not to the art itself. This is its skin.
- Next, wrap the whole thing in bubble wrap—at least two full layers. Pay extra attention to the corners.
- Now, find a proper picture box that’s just a little bit bigger than the frame. Slide the art in. If there’s any space on the sides, stuff it with crumpled packing paper. You want zero wiggle room. For extremely valuable pieces, this is where you’d use a custom-built wooden crate instead of a box. No exceptions.
For For Antique Furniture (Desks, Chairs, Armoires):
Wood needs to breathe. And wobbly legs are just waiting to snap off.
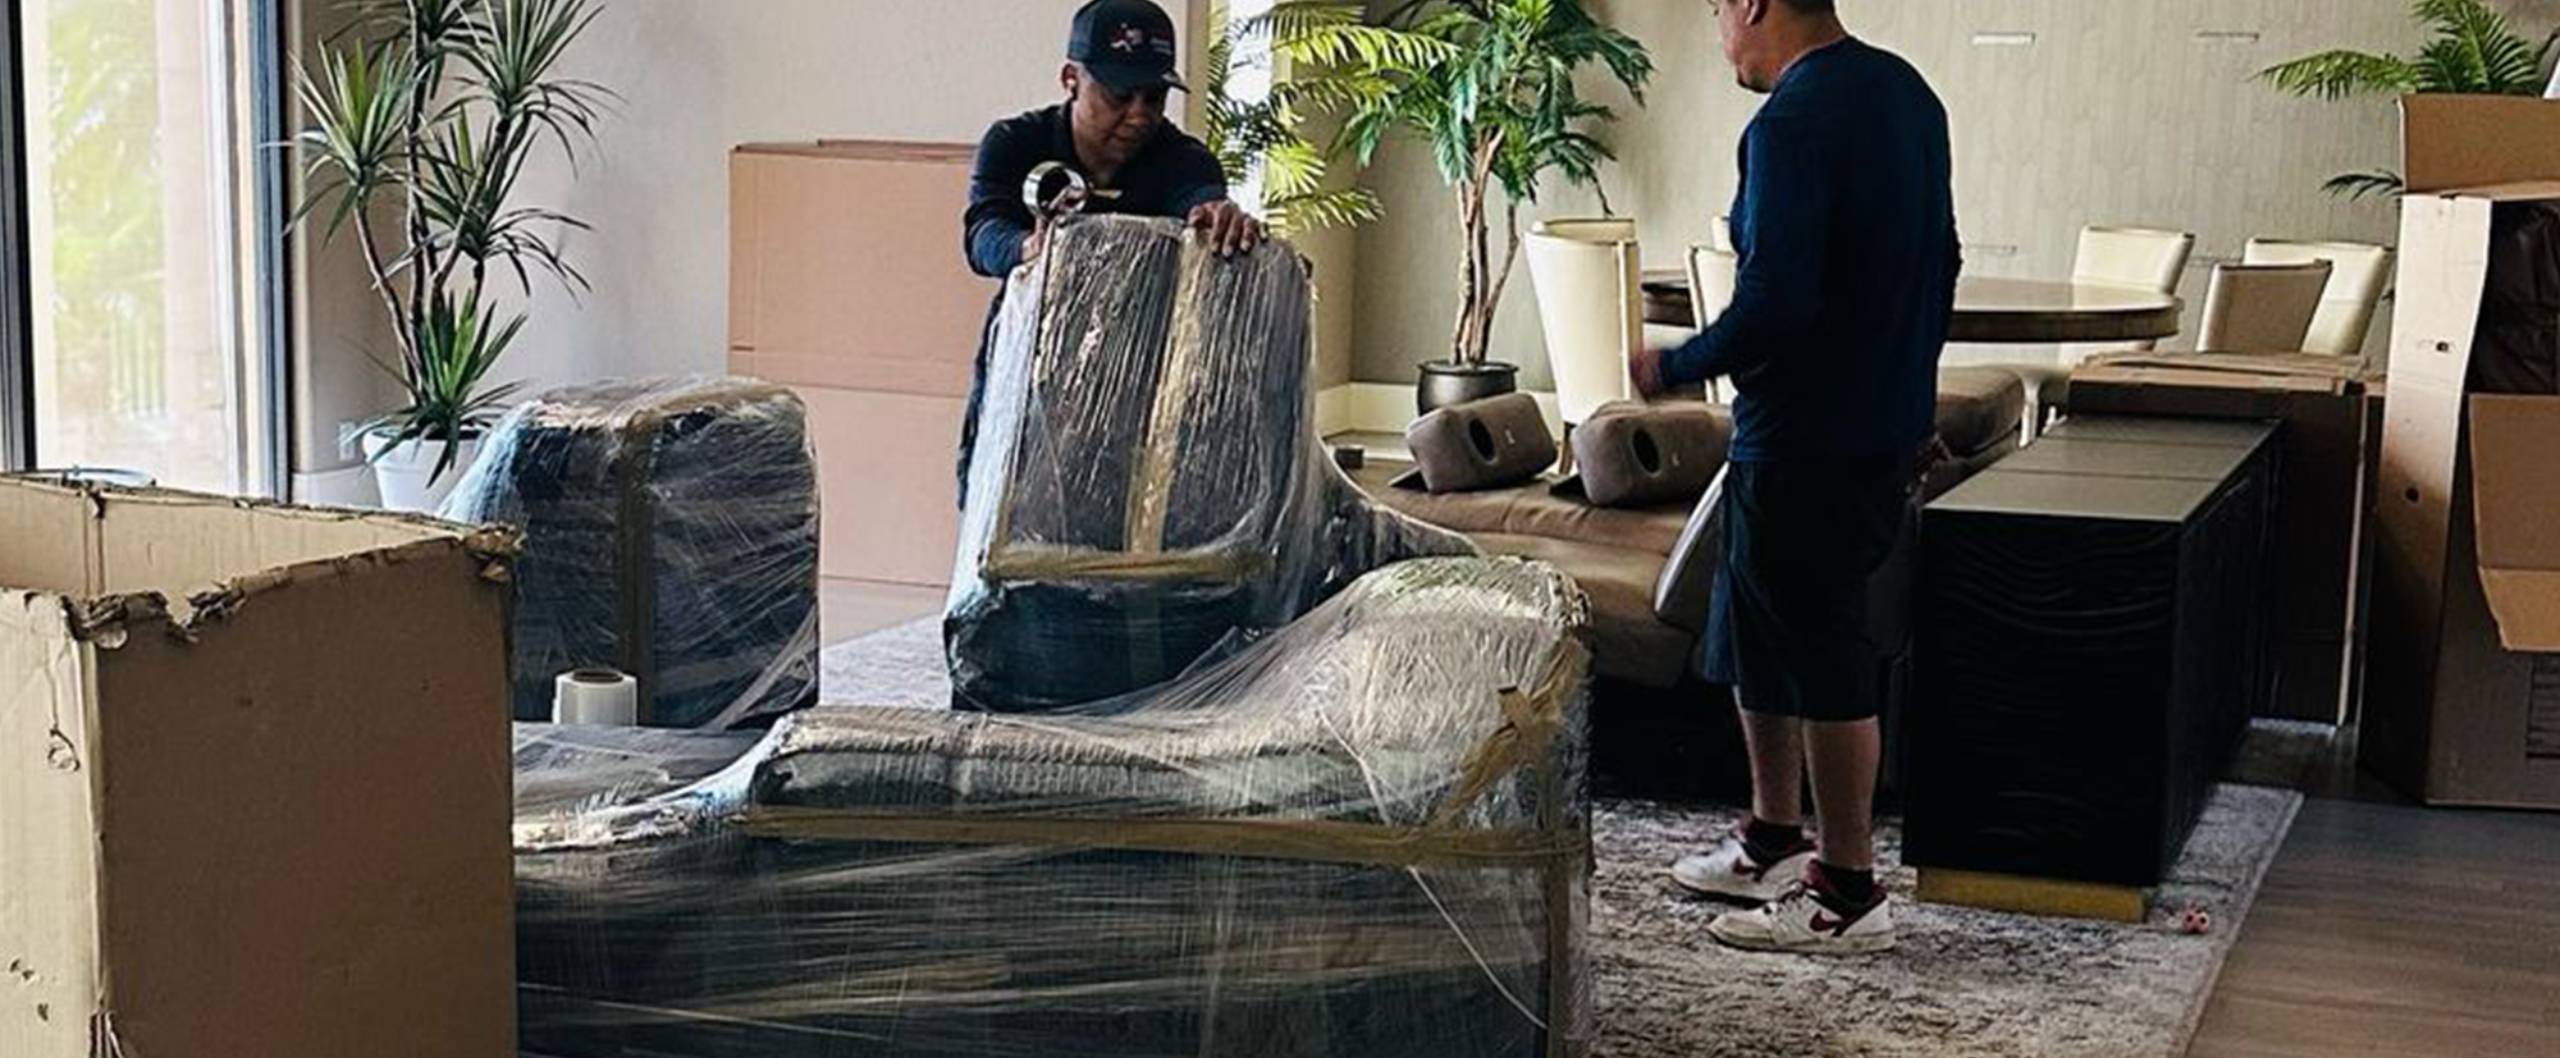
- Never wrap wood furniture directly in plastic shrink-wrap. I see people do this all the time and it makes me cringe. It traps condensation and can ruin the finish. It’s like putting it in a sweat lodge for the whole trip.
- Instead, use thick moving blankets. Wrap the piece completely, then secure the blanket with packing tape (taping blanket to blanket, never letting it touch the wood).
- Got drawers or doors? The best way to secure them is with painter’s tape, which won’t pull off the finish. Or, even better, wrap the whole piece in a way that holds them shut.
For Fragile Collectibles (Figurines, Vases, The Weird Stuff):
Think small, delicate, and ready to shatter if you look at it wrong. Your mantra is: The Box-in-a-Box.
- Wrap your little treasure carefully in packing paper, then a layer of bubble wrap. Tape it shut. It should feel like a little cocoon.
- Place this cocoon inside a small, sturdy box. Fill any space in this small box with more paper. Seal it up.
- Now, take that small box and place it inside a larger, double-walled box that’s been lined with crumpled paper on the bottom. Surround the small box with more packing paper on all sides—top, bottom, everywhere. It’s a Russian doll of protection. The goal is that if you shake the big box, you feel nothing moving inside.
That’s it. That feeling of silence when you shake the box? That’s the sound of a job well done.
IV. Phase 3: Moving Day Execution
All that prep work? It all comes down to this. Moving day is a chaotic ballet, and you are the director. Your presence and your voice are the most important tools you have left.
Your Mission: Be the On-Site Supervisor
This is not the day to run errands or hide in a back room. Your job is to be a calm, visible, and helpful authority figure. You’re not there to micromanage or get in the way, but you absolutely need to oversee the operation.
Think the movers remember the detailed conversation you had two weeks ago? Maybe. Don’t count on it, though. They move houses every single day.
Your job is to hover. Politely.
- Be a broken record: As they approach a stack of boxes, point out the ones with your special markings. A simple, “Hey guys, just a heads-up, everything in the blue tape is extremely fragile, so please be careful with those,” works wonders.
- Direct the traffic: As they carry in your antique armoire, be the one to say, “Let’s set that down gently against this wall for now.” A little guidance prevents a lot of accidents.
- Enforce the golden rule: This one’s critical. Your most valuable items should be loaded onto the truck LAST, and taken off the truck FIRST. Why? It ensures they aren’t crushed under a mountain of heavier, less-important stuff and that they spend the least amount of time in transit. It’s simple logic, but you have to enforce it.
Leaving it all up to the movers is leaving it to fate. And fate is a terrible project manager.
The ‘Precious Cargo’ Convoy
Now, for the really special stuff. The small stuff. The priceless stuff.
I’m talking about jewelry, critical documents, your stamp collection, the box with your great-grandfather’s pocket watch. These things do not belong on the moving truck. Period.
This is your personal convoy. Your “hand-carry” stash.
The rule is simple: If it can fit in your car and the thought of it disappearing or breaking makes your stomach turn, it rides with you. No discussion.
Pack a few boxes or a suitcase with these items and keep them in your possession for the entire move.
It’s the easiest way to guarantee the safety of your smallest, most irreplaceable treasures. Total peace of mind.
V. Phase 4: Post-Move Inspection and Acclimation
You made it. The last box is off the truck, the rooms are full, and a wave of exhaustion and relief is washing over you. The movers are standing by with a clipboard, ready for a signature.
Hold on. You’re not done yet.
These last five minutes are one of the most important parts of the entire process. Don’t rush it.
The Final Inspection: Don’t Sign Anything Yet
This is your last moment of leverage. Before you sign that bill of lading (the moving contract), you need to do a quick, focused inspection of every major piece they handled.
I know they’re tired. You’re tired. But this is business.
- Walk the floor. Go directly to the most important items—the antique desk, the crated painting, the grandfather clock.
- Inspect them closely. Do you see a new scratch? A dent? A splintered corner?
- Speak up. Now. If you see something, point it out to the moving foreman immediately. Don’t be shy. This isn’t personal.
- Document it. Take a photo of the new damage with your phone. Crucially, have the foreman make a note of the damage on the bill of lading before you sign it. A signature on a clean bill of lading is like saying, “Everything arrived perfectly!” You can’t go back on it later.
The Unpacking Ritual
Once the movers are gone, the real fun begins. But again, a little strategy goes a long way.
- Prioritize your valuables. Unpack your most treasured items first. Why? Because a chaotic house full of half-unpacked boxes is a danger zone. The sooner your fragile pieces are safely situated, the better. Get them out of the line of fire.
- Let them breathe. If you’ve moved to a drastically different climate—say, from a dry desert to a humid coast—your wooden antiques and oil paintings might need to acclimate. Think of it like letting a good wine breathe. Leave them loosely wrapped in their blankets for a day or two to let them adjust to the new temperature and humidity slowly. This prevents wood from warping and paint from cracking.
- Call in the pros (again). For heavy mirrors or complex pieces of art, there is zero shame in hiring a local professional for the final installation. You got it this far; don’t let the last step be the one that ends in disaster.
And that’s it.
You can finally pour a drink, sit on a box (since the sofa isn’t set up yet), and look around. You didn’t just move your stuff; you successfully curated and protected your story. Every piece made it. Welcome Home!!
